


Your user testing videos are powerful tools of persuasion. They are hard video evidence of where users are struggling with your website, app, or prototype designs.
When you make the case for new design proposals to your teammates, stakeholders, or clients, user testing clips are your strongest arguments. The right video moments will help your listeners see from the users’ point of view and understand why change is needed.
Our highlight reel feature helps you win those arguments. It allows researchers to pick out and stitch together the most critical and compelling moments from their user tests, creating a concise, effective piece of video propaganda for the cause of better designs.
Creating your highlight reel
Our video annotation feature forms the basis for creating a highlight reel. While reviewing your user testing videos, you can add annotations to specific timestamps, with comments on what’s happening in that part of the video and tags identifying relevant issues or themes.
Annotate every learning moment and spot you’ll want to come back to. You’ll need these annotations to make your reel.
Read more: Share usability testing highlights with video annotations
1. Add clips
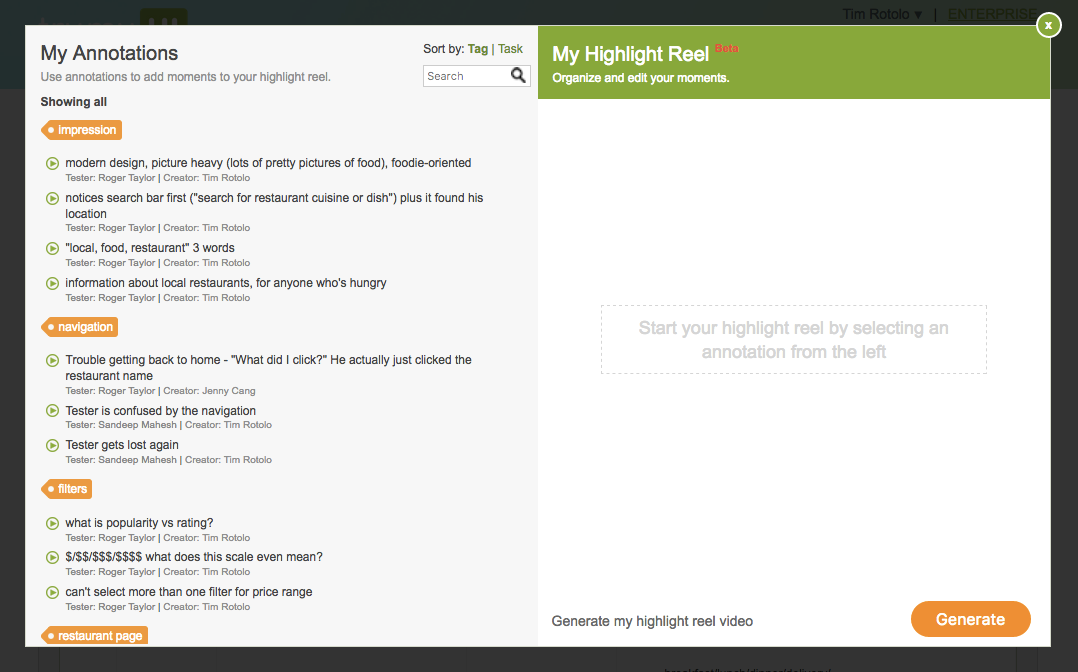
When you click “Generate highlight reel,” you’ll see all your annotations compiled in a list on the left-hand side. Here is where you’ll pick which clips to add to your reel.
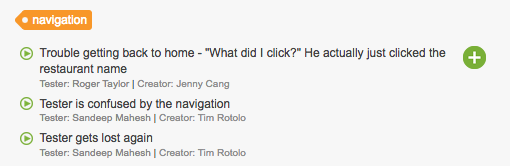
Choose the annotated moments that best represent the key issues discovered in the study. Use the green “+” buttons (they show when you hover) to add an annotation from the left that clearly demonstrates the issue. The video associated with that annotation will be added to your highlight reel on the right-hand side:
2. Edit your clips
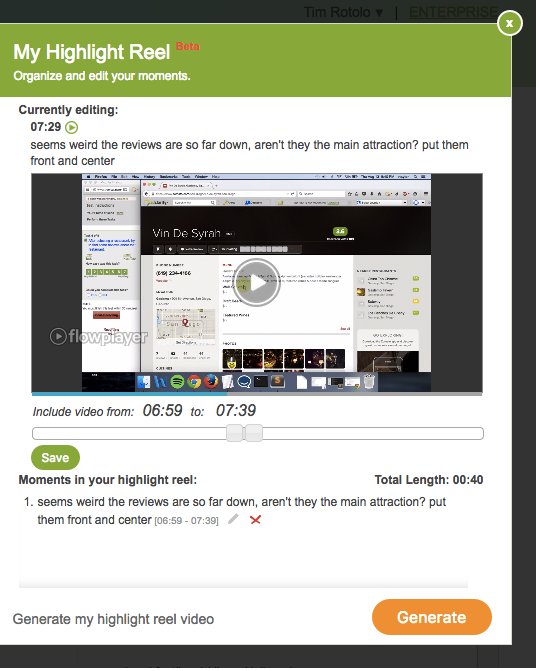
The top half (see screenshot above) will show the timestamp and text of the selected annotation, plus the complete user video it can be found in. Use the sliders below the video to edit where the clip will begin and end.
(Tip: Every time you adjust the beginning slider, the test video will start playing from the new location).
When you’re happy with your start and end points for that clip, hit “Save” and move on to the next one. You can still see that clip in the list on the bottom half (“Moments in your highlight reel”), which shows all the clips you’ve added, in order.
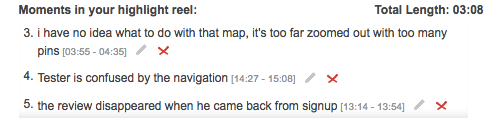
You can always go back and edit or remove any of them using the icons to the right of the annotation text. You can also check what the total time duration of your compiled clips adds up to.
3. Generate your video
When you’ve added all the moments you want to share, click “Generate.” We will compile your clips into a single video, which you can watch online, download, or share with a view-only link. It may take a few minutes for the highlight reel video to finish processing. Don’t worry if you can’t immediately play it.
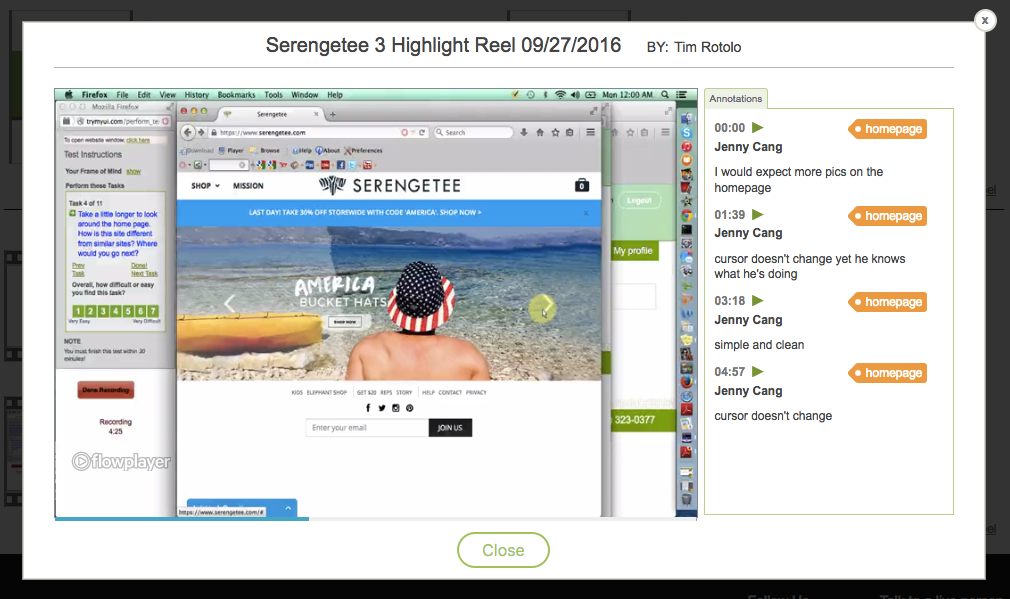
The completed video will be indexed by the original annotations, so the viewer can jump to the beginning of any clip with one click.
With a TryMyUI highlight reel, you can share your findings in a way that’s easy for you, and convincing for your audience. Some final tips:
Tip #1: Pick the clips that best demonstrate what the issue is, and why it is a problem for users. If several users experienced the same issue, look for the one who most clearly or sympathetically communicates their thoughts on it.
Tip #2: Keep it short! The idea is to condense hours of user videos down into something digestible. If your reel runs too long, you risk losing viewers’ interest. Focus on the top 5 issues, and cut the rest.
Tip #3: Include some positive clips. It doesn’t have to just show the problem spots – remind people of what’s really good about the design, too! This can also make people more receptive to the bad parts.
Watch: Example user testing highlight reel: Toyota Knoxville website test