The best UX of your life starts with creating and launching your first remote usability test. This guide is a step-by-step tutorial on how to set up your first remote usability test on TryMyUI’s platform. Note that some of these features may not be available for each plan type, so refer to our features list for more information.
Learn more: How to navigate your first remote usability test results on TryMyUI
1. Basics
In step 1, you’ll be giving your test a title, choosing the interface type you’ll be testing, picking the device you want testers to use, and entering in the URL.
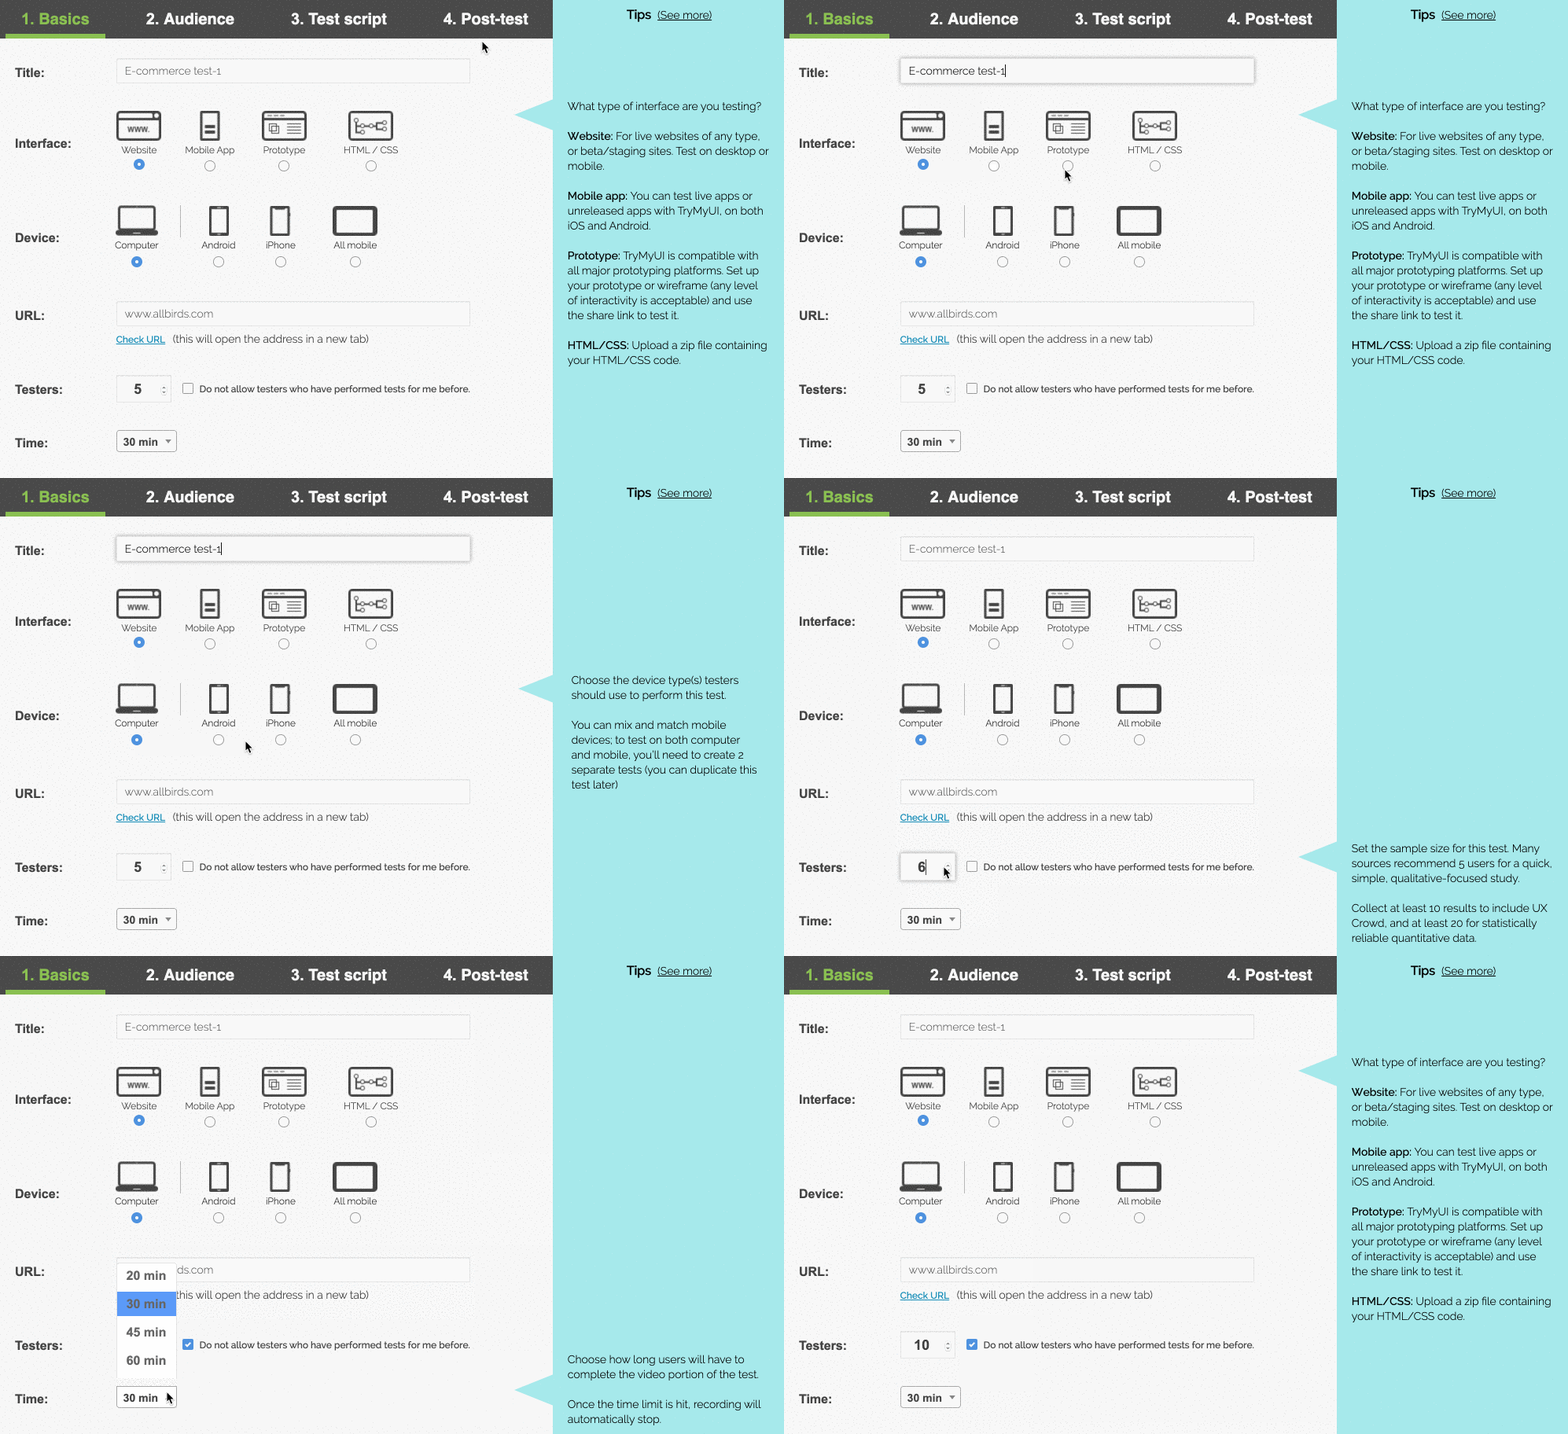
Next, you’ll select the number of testers to request and whether or not you want to allow previous testers. Depending on your testing goals, the number of testers may vary. Read our article regarding this topic here.
Then, you select the amount of time allotted to complete the test. Remember how much time you select when you’re writing your task script later so you can give testers ample time to explore your product and explain their thoughts!
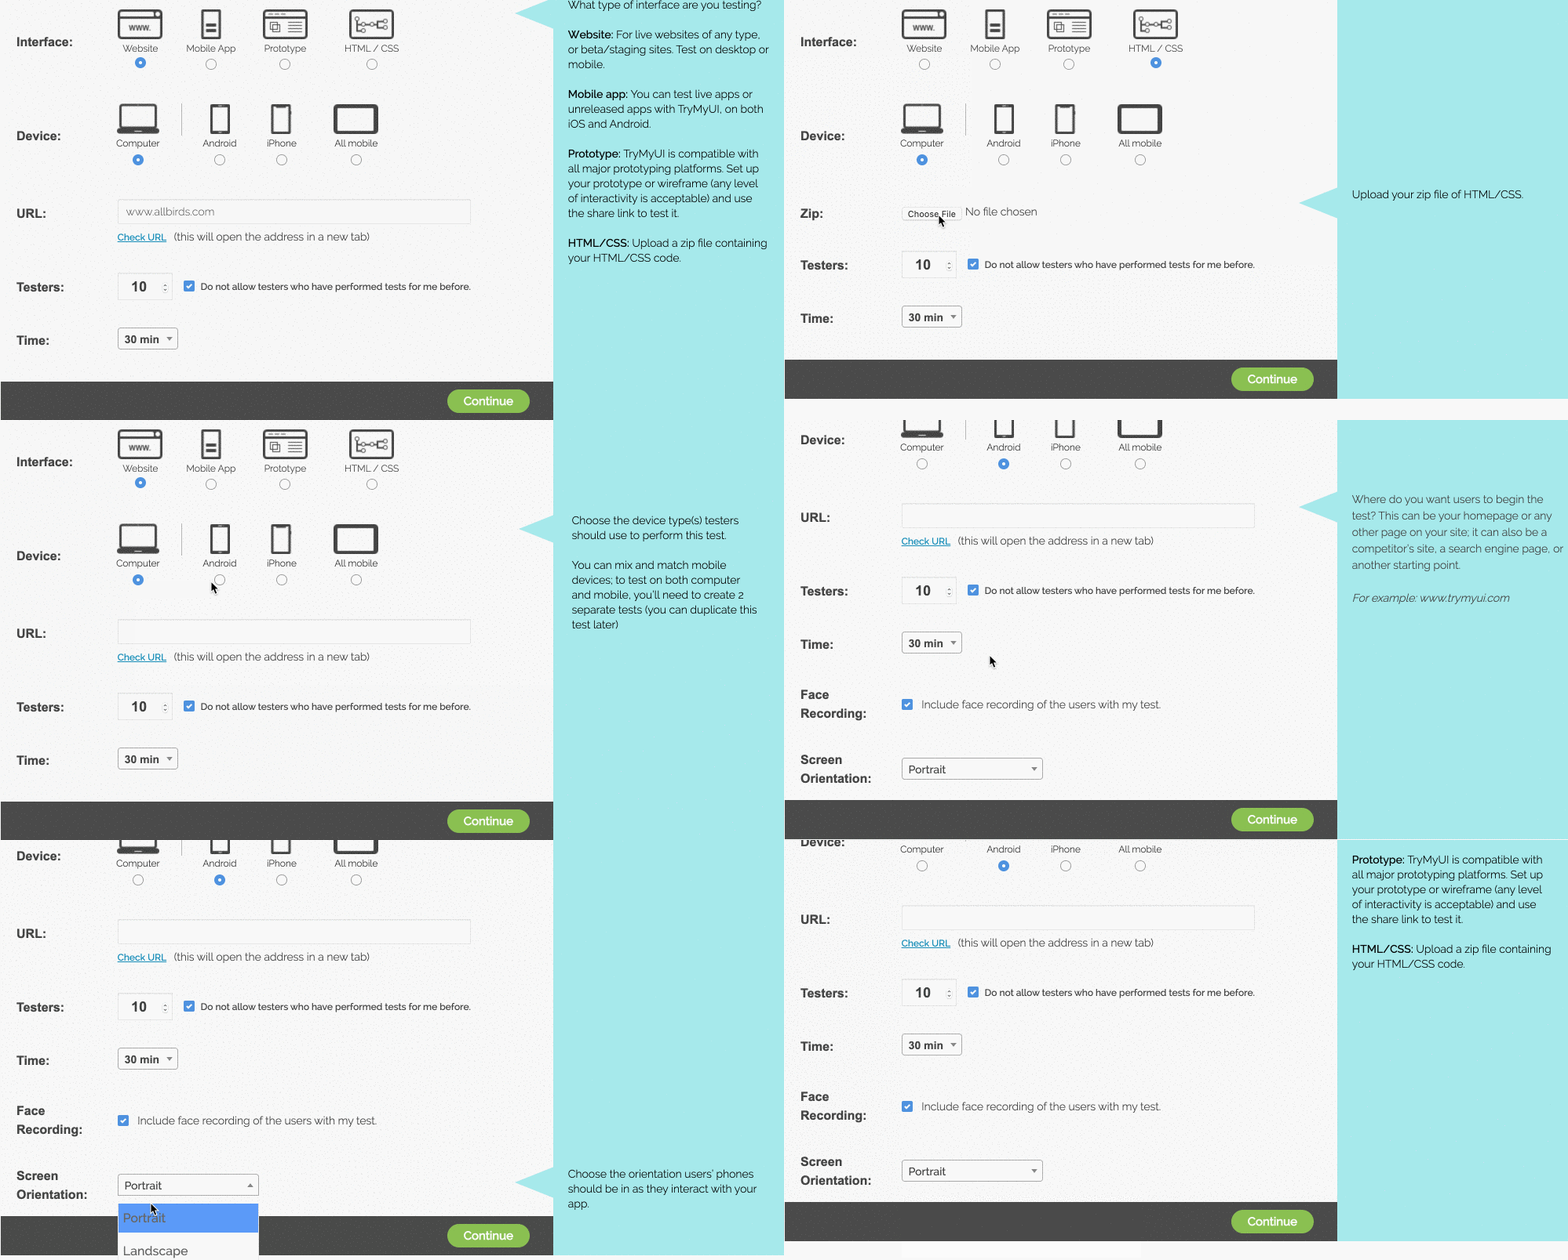
Note that if you select HTML/CSS under interface, you will need to upload a zip file. Also, if you select any of the mobile devices, you will be prompted with enabling face recording and selecting the screen orientation of the videos.
Read more: Testing InVision prototypes with TryMyUI and How to user test your Testflight beta app
2. Audience
Next, you’ll choose who you want to take your test. If you choose to use your own testers, you will simply send them a URL to the test for them to enter into their TryMyUI tester app. The custom panel is for customers who have already tested and want to keep testing with the same panel of testers as before.
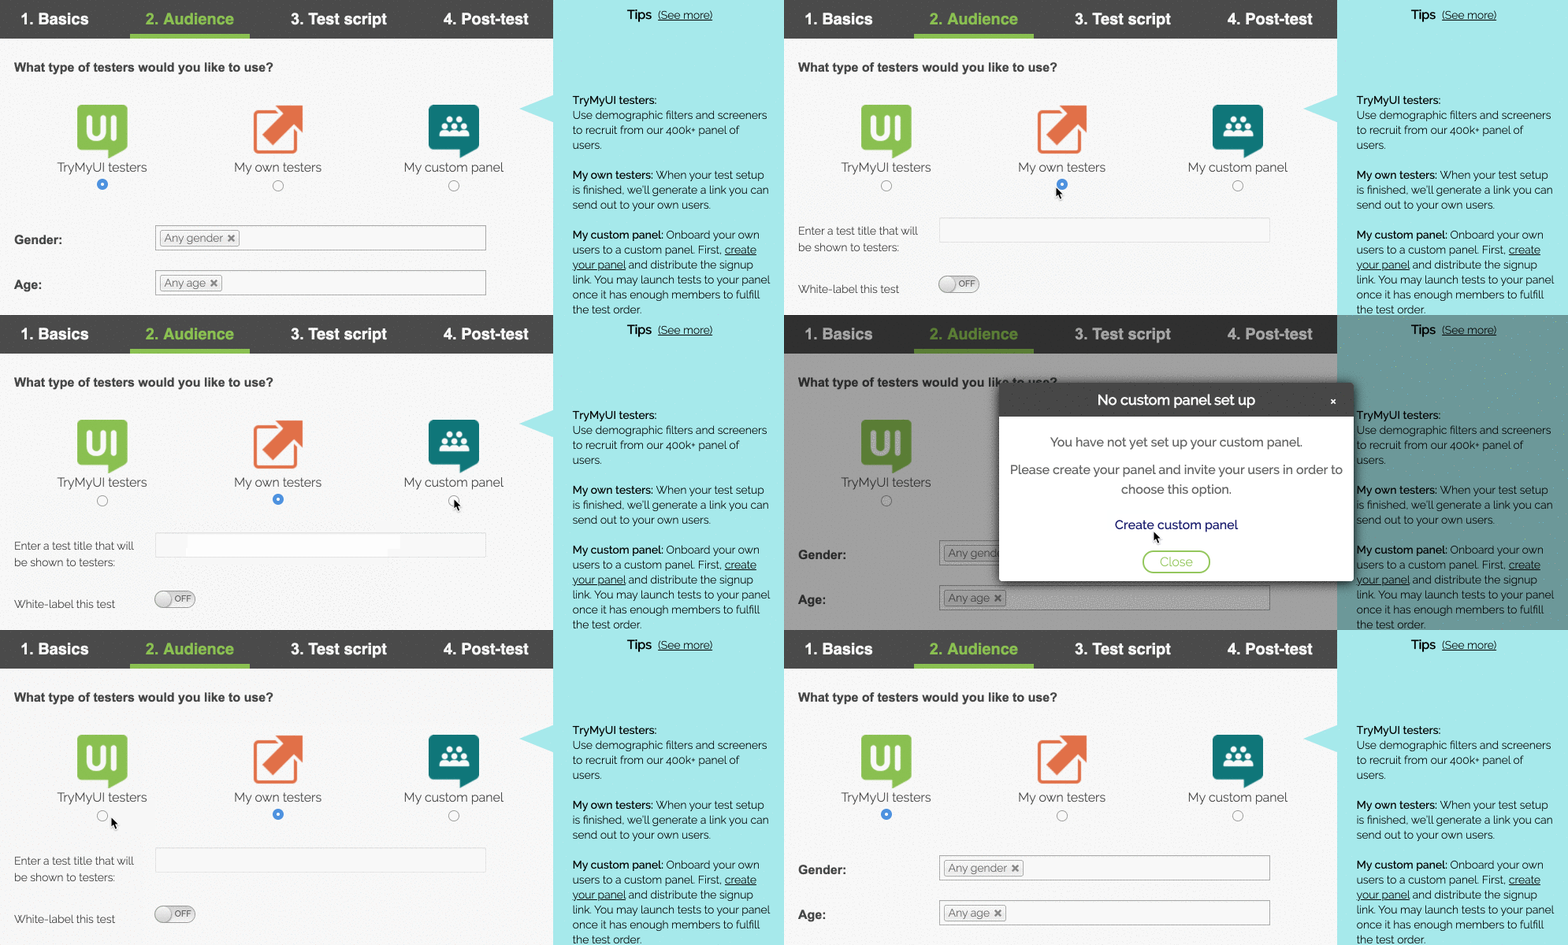
If you use testers from the TryMyUI panel, you will pick your target audience with demographic filters for factors like gender, age, country, and more.
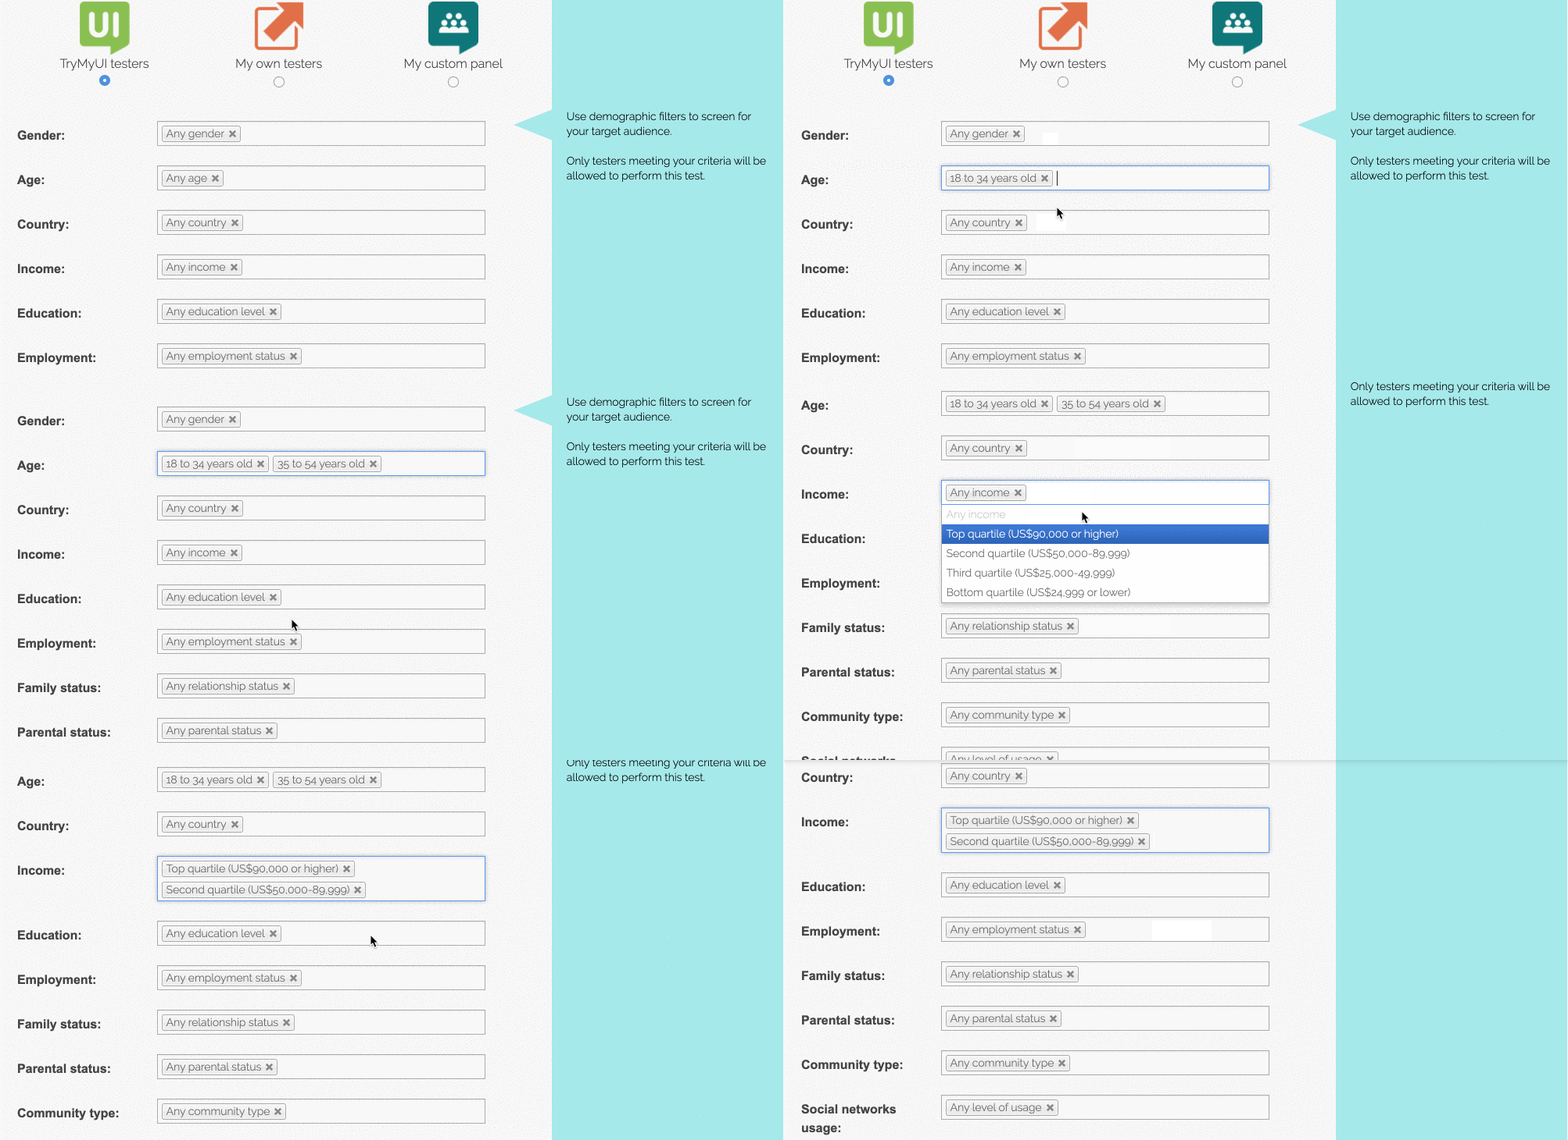
You can select more than one subgroup for the same filter (for example, the “top” and “second” quartile have both been chosen in the Income filter above).

A gauge displaying your estimated fulfillment time will appear at the bottom of this section. If the dial is in the red, consider loosening your requirements.
Some testers may meet your selected demographics requirements, but some tests will require nuance that can be refined through screeners. You can input custom requirements, from extra demographic factors (“Must speak Spanish”) to interests (“Must consider yourself an environmentalist”).

The screener questions will refine your tester-base further.
- The Verbal screener will force testers to state aloud how they meet the requirement.
- The Technical screener will let testers know they must perform this test using a specific web browser, OS version, device model, or any other technical necessity.
- The Screener survey will offer single and multi-select questions that offer a huge amount of flexibility for your refinement (see below).
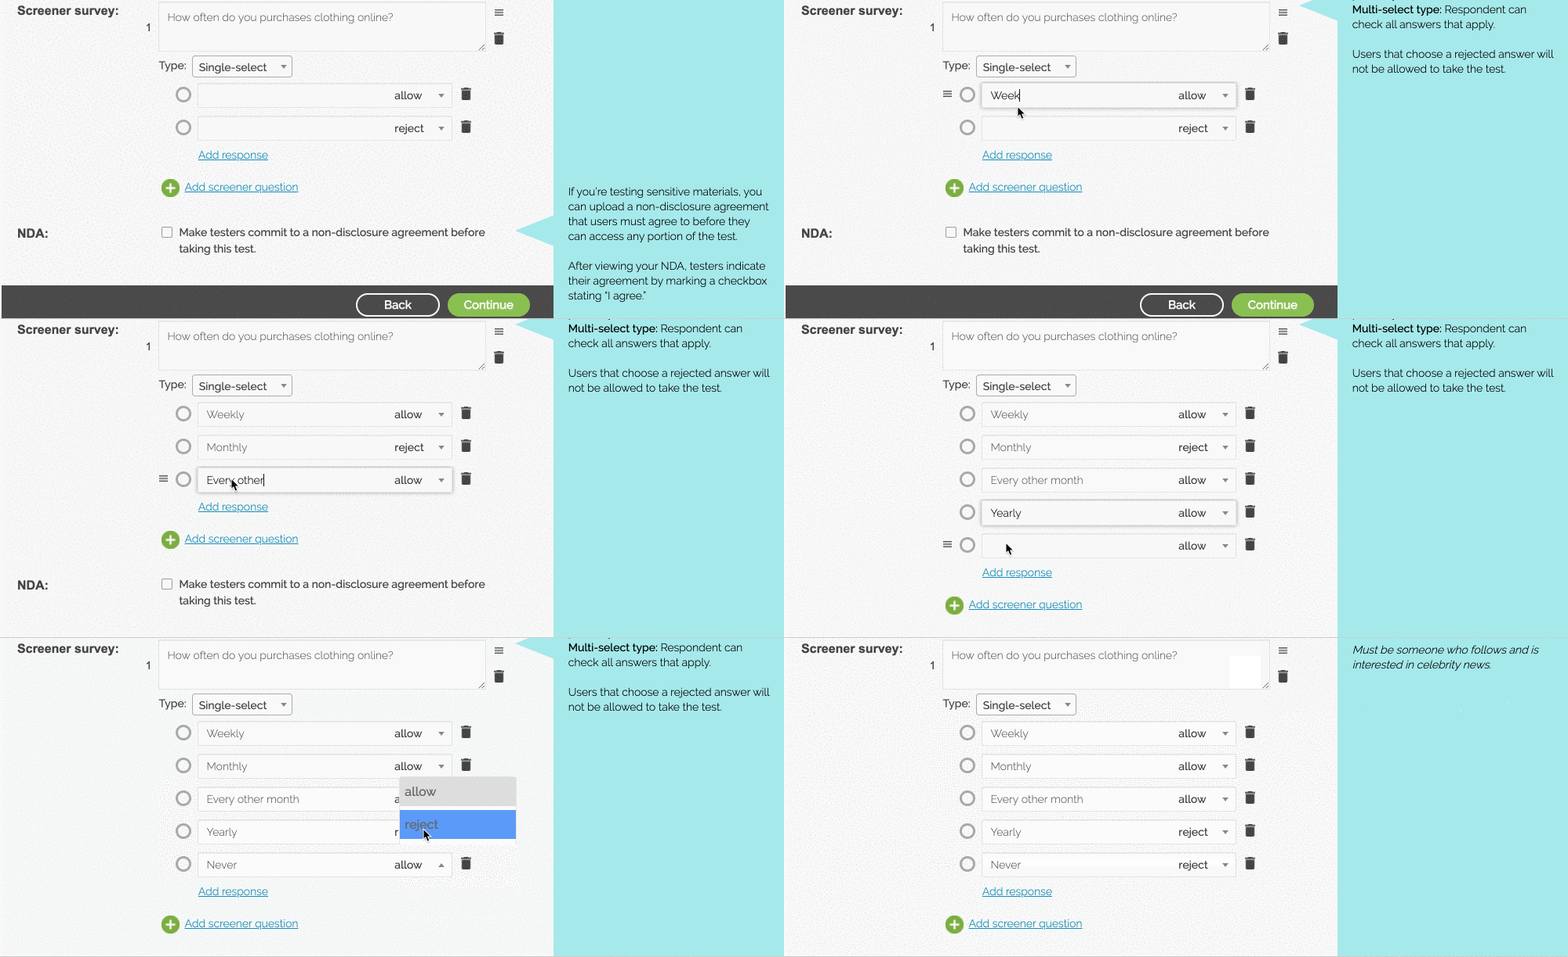
To learn more about the Screener survey, refer to this comprehensive article.
In this step you can also upload a non-disclosure agreement (NDA) for testers to sign if your test will contain sensitive materials.
Learn more: New screener questions for your remote usability test
3. Test script
Step 3 contains the meat of the test setup, where you’ll write the scenario and tasks for testers to follow. It’s important to get your test script right so you get the highest quality feedback. Pay close attention to the tips, and consider taking a look at our posts on writing usability testing tasks before you finalize your test.

By the way, if your test will start with a landing page or are really just focused on GUI, we recommend using a 15-second Impression Test to see what people think of your site before they’ve had time to explore it.
Remember, you only have a matter of seconds to keep a potential customer on your page, so impressions are everything!
Next, you’ll start writing the task script for your testers. These are the actions you want your testers to perform on your website. Sometimes, it can be helpful to ask an open-ended question to get your testers to talk about their experience.
We’ve compiled guides for tasks related to e-commerce tests, prototypes and wireframes, as well as a more general guide.
Here, too, is a template of tasks you might want to refer to.
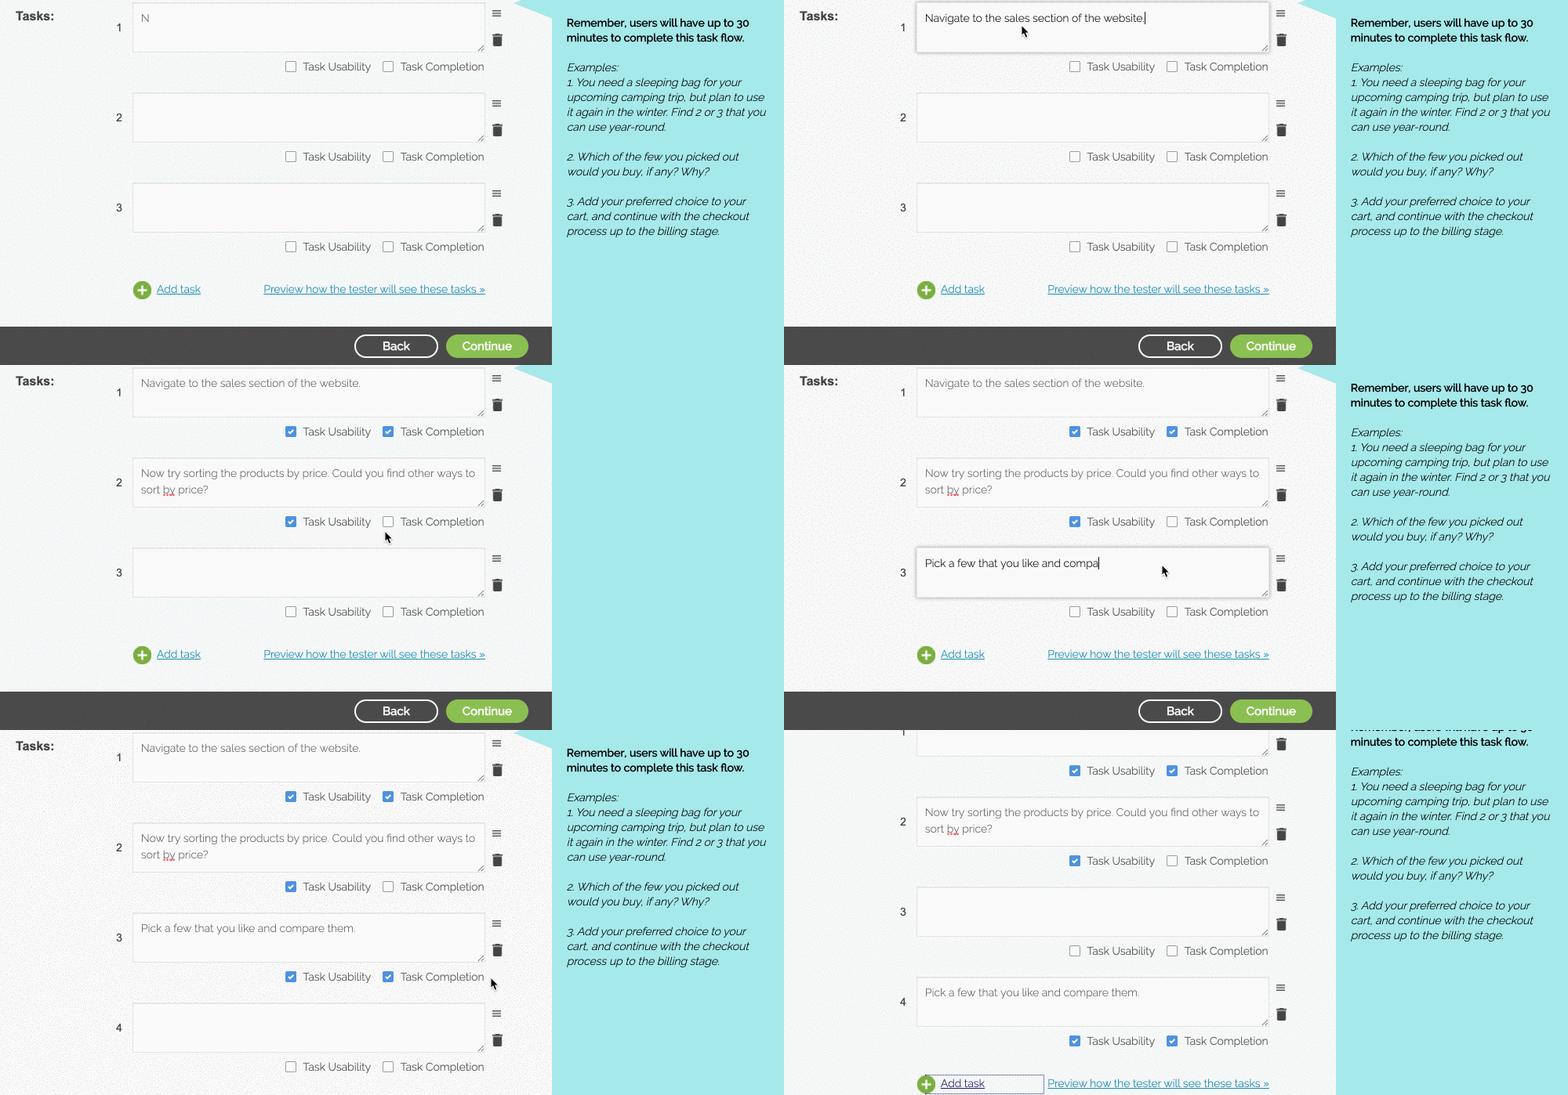
Each task will have the option to include Task Usability and Task Completion. These are quantitative metrics and part of the UX Diagnostics feature. We highly recommend using these user testing metrics, as they will help you and your team hone in on specific pain-points.
You can delete and sort your tasks with the two icons on the right of the text boxes.
Learn more: How to harness quantitative data in your UX research and usability testing
4. Post-test
Now we come to setting up the Post-test section of your first remote usability test. This is where more qualitative feedback will come into play via your post-test user testing survey.
We provide you with 4 post-test survey questions that are open to free response from testers, but these are customizable and only suggestions. Here, too, is a bank of survey questions you might want to refer to.
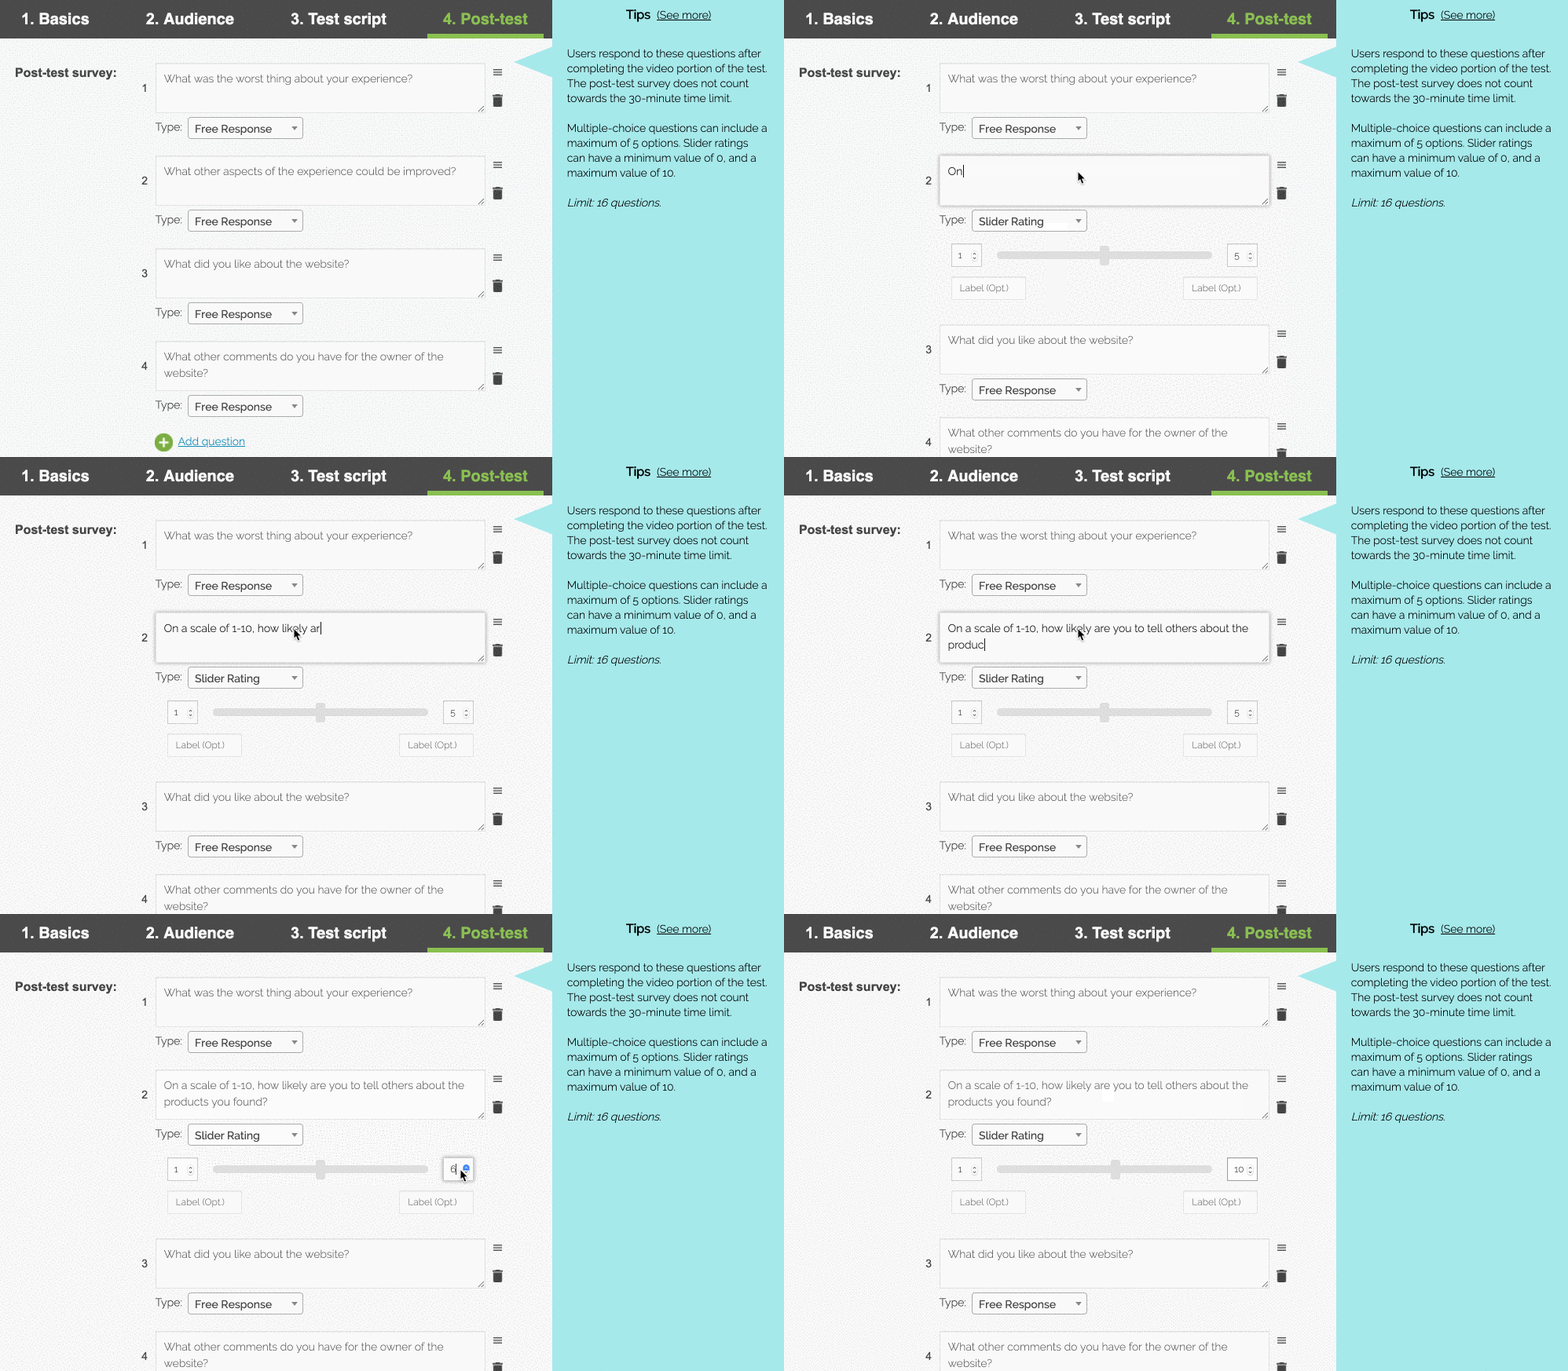
If you want more options than Free Response, you can select other types from the dropdown. Slider-ratings, multiple-choice (select one), and multiple-choice (select multiple) are all available and add flexibility to your post-test survey results and data.

Think about which survey types will be relevant to your test script, interface type, and always be mindful of tester fatigue. Too many questions can spoil your data!

After the qualitative surveys, we come to the juicy quantitative data options. Here’s where you’ll choose which additional metrics to include in the test, such as:
- psychometric surveys including SUS, PSSUQ, SUPR-Q, and more
- the Net Promoter Score (or NPS), frequently used to measure customer loyalty
- UX Crowd, an original TryMyUI crowdsourced analysis tool (note: this feature requires a minimum of 10 testers)
5. Review and Confirmation
Lastly, once you have finished the post-test section, you will be able to review your test. Each section is displayed and can quickly be edited in case you missed something.
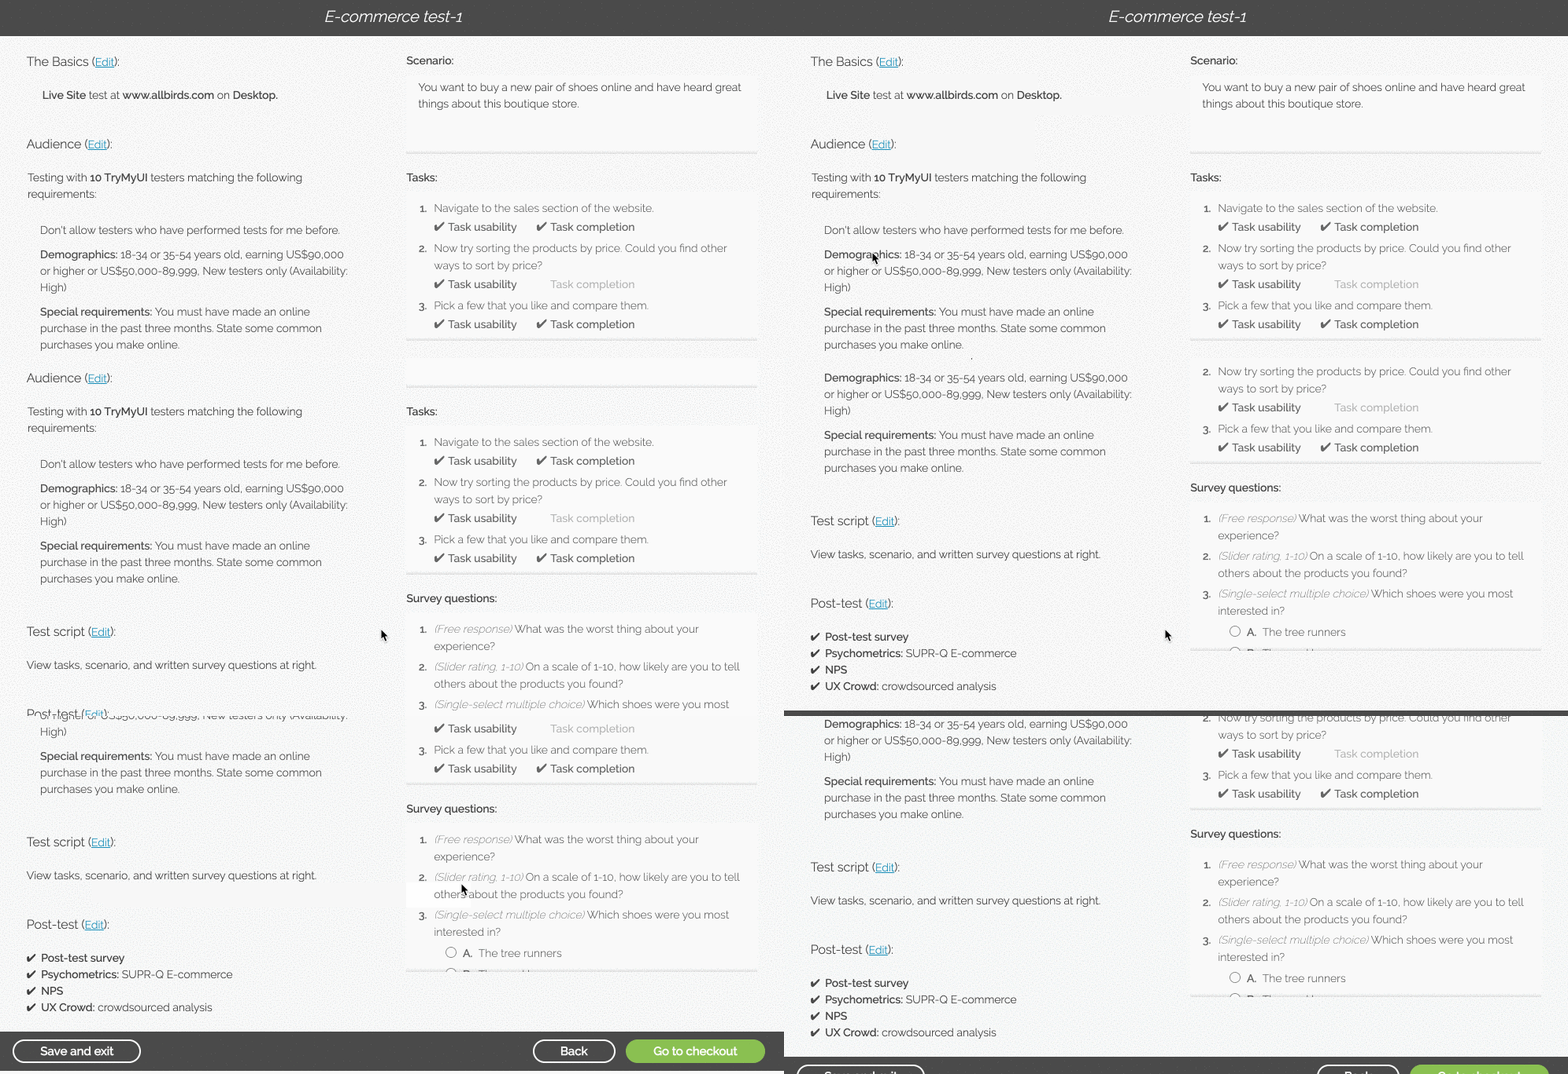
If your test looks like it is ready to go, continue on to checkout!
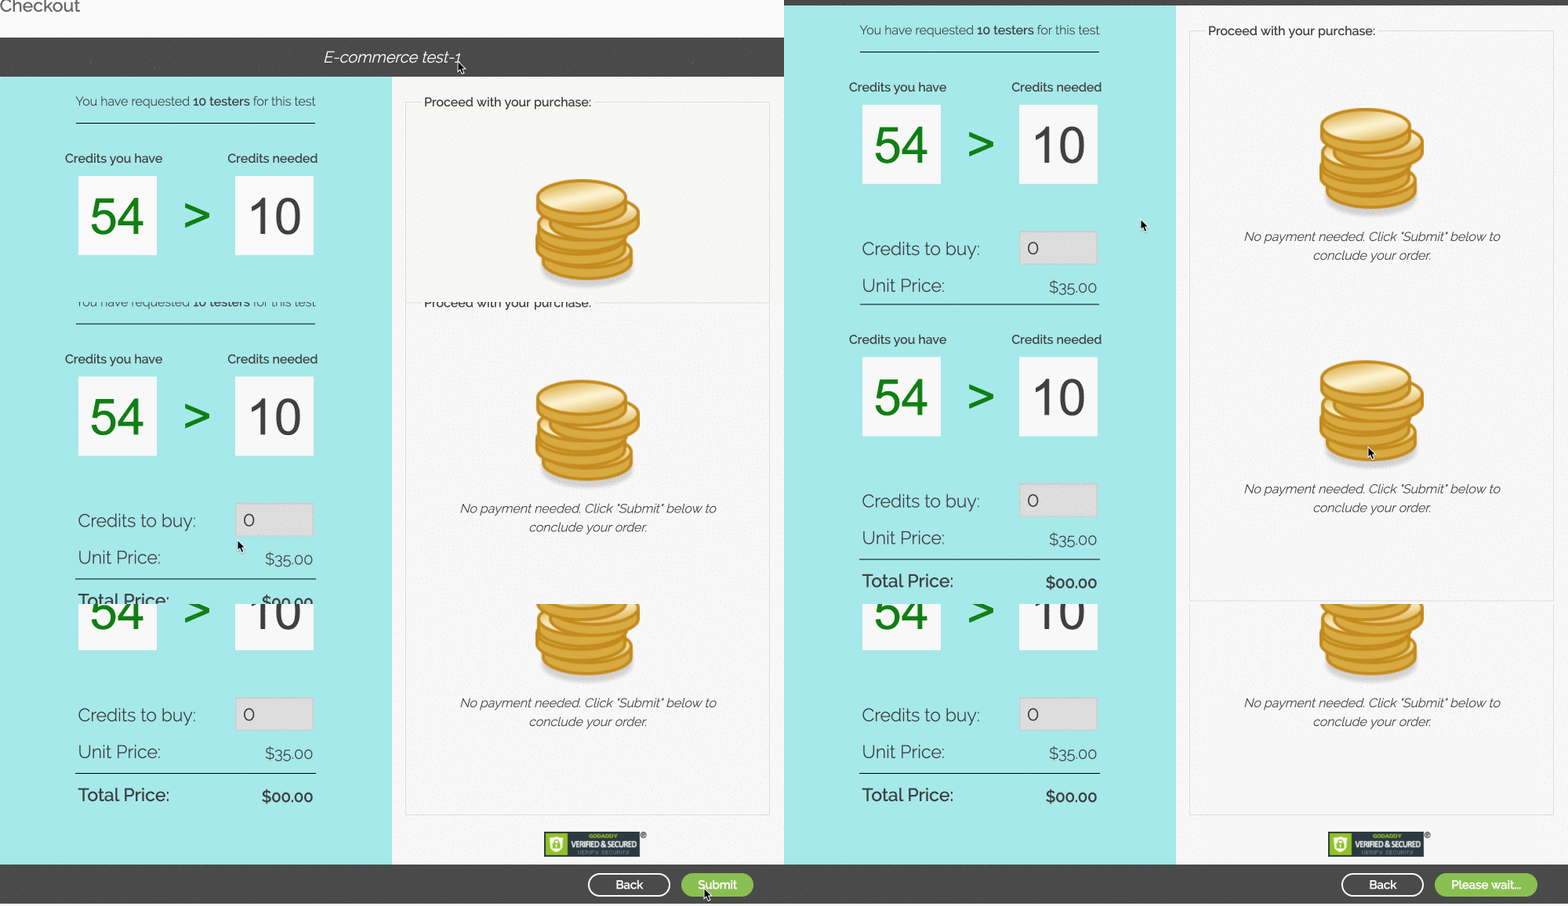
The checkout screen will display the amount of credits you currently have, the amount you’re requesting, and if you will need to purchase more. After clicking “Submit” your test will be launched and you will receive results within hours!
Read more: Customer success stories using TryMyUI
Try out the new flow at trymyui.com/use_tests/new/ if you have an account, or start a 14-day free trial to setup and launch your first remote usability test. Let us know what you think – user feedback shaped this flow, and always keeps shaping our product!


